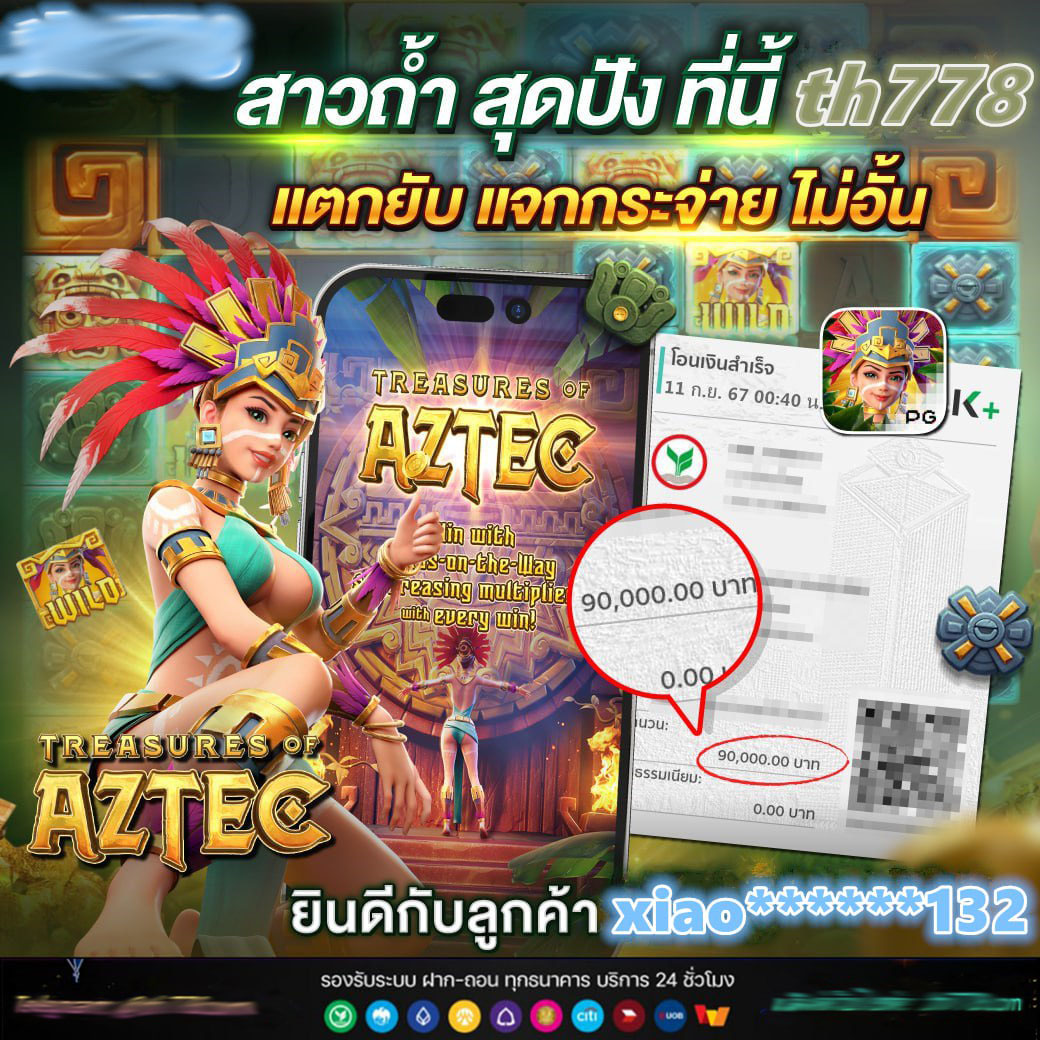
How to hardwire a power inverter to home breaker panel

A great DIY project! Hardwiring a power inverter to your home's breaker panel requires some electrical knowledge and caution. Please follow these steps carefully to ensure a safe and successful installation:

Important Safety Considerations:

  1. Turn off the main power: Switch off the main electrical power at the breaker panel before starting the installation.
  2. Verify the inverter's specifications: Ensure the power inverter is designed for your home's electrical system (120V or 240V) and can handle the maximum power output.
  3. Use a licensed electrician if you're not comfortable: If you're not familiar with electrical work, consider hiring a licensed electrician to perform the installation.

Tools and Materials Needed:

Step-by-Step Instructions:

  1. Choose a suitable location: Select a location for the inverter that is:
    • Close to the breaker panel
    • Away from moisture and humidity
    • Easy to access for maintenance
  2. Connect the inverter to the breaker panel:
    • Identify the breaker panel's main busbar (the metal strip with the circuit breakers).
    • Connect the inverter's output wires (black and white) to the busbar using wire nuts or connectors. Make sure to follow the inverter's wiring diagram.
    • Use a circuit breaker (if not already installed on the inverter) to protect the inverter from overcurrent.
  3. Ground the inverter:
    • Connect the inverter's grounding wire (green or copper) to the grounding rod (if not already installed on the inverter).
    • Ensure the grounding rod is securely connected to a grounding electrode (e.g., a copper rod driven into the earth).
  4. Connect the inverter's input wires:
    • Identify the inverter's input wires (usually labeled "DC IN" or "Solar Input").
    • Connect the input wires to the solar panel array or other DC power source.
  5. Connect the inverter's output wires to the electrical panel:
    • Connect the inverter's output wires (black and white) to the electrical panel's busbar, just like in step 2.
  6. Verify the installation:
    • Check the inverter's wiring diagram to ensure all connections are correct.
    • Use a multimeter to verify the voltage and current output of the inverter.
    • Test the inverter by plugging in a load (e.g., a lamp) and verifying it works.
  7. Install a disconnect switch (optional):
    • If you want to be able to disconnect the inverter from the electrical panel for maintenance or upgrades, install a disconnect switch between the inverter and the electrical panel.

Additional Tips and Considerations:

Remember to always prioritize safety when working with electrical systems. If you're unsure about any aspect of the installation, consider consulting a licensed electrician.